

When your tenant moves out, inspect the space where the kitchen countertops meet the walls. If there are cracks in the caulking—especially in the sink backsplash—you’ll need to apply another bead of sealant.
If water gets into the cracks, and the countertop is made of pressboard material (if it’s not stone, it’s typically pressboard), the water will expand in the board and warp the material. The water can also seep into the wall and cause the same problem.
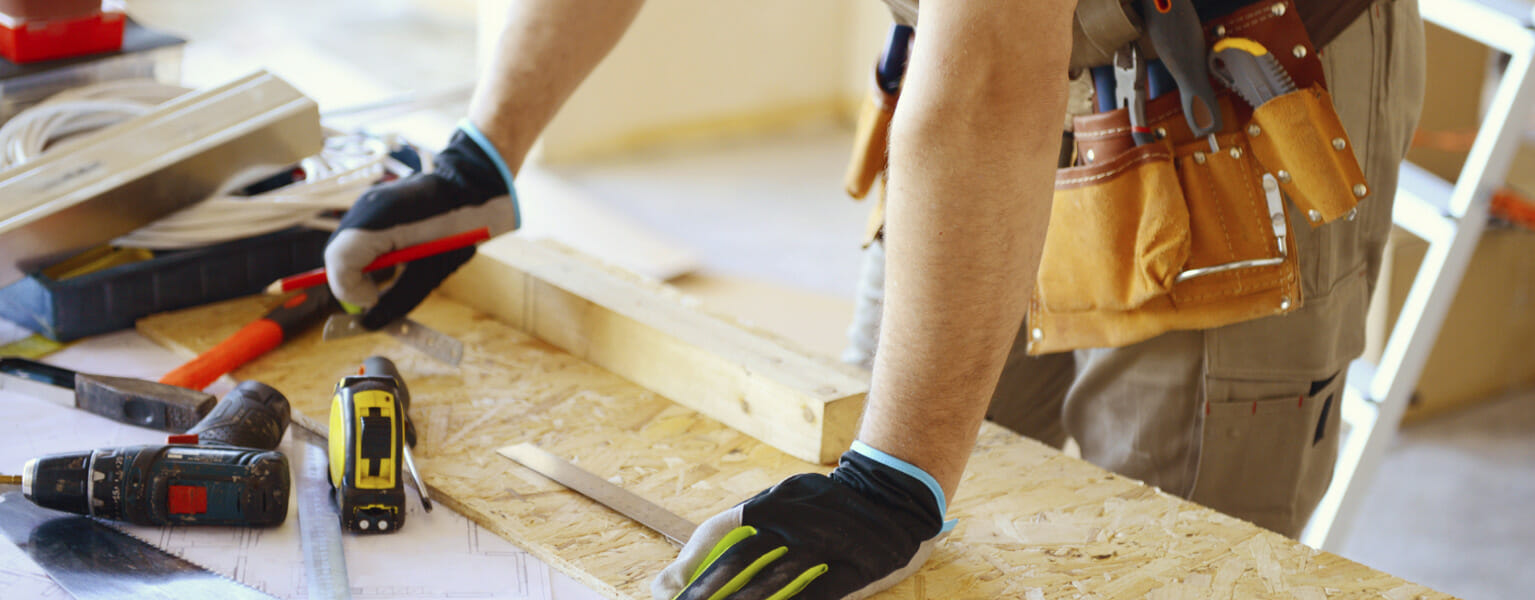
You’ll Need:
- A square of cloth
- A tube of caulking
- A caulking gun (if applicable)
- A caulking tool kit (optional)
Work Time: 15 minutes
Total Time: 30 minutes
- Wipe the cracked caulking with a dry cloth to remove any dust or dried caulk chips.
- Apply painters tape along the caulking. The painters tape should be right up against where the backsplash meets the original caulking.
- Pro-tip: Don’t go cheap and substitute painters tape for regular masking tape. Masking tape will take off the actual paint on the walls.
- Take your new caulking tube and cut off the tip of the spout at an angle. Do not cut straight across. Some tubes will indicate at what angle to cut off. If you’re using a caulk gun, it might have a spout cutter incorporated on the side.
- Buildium tip: Make sure that the caulking you choose is 100% silicone. It might cost a bit more but it’s water resistant — ideal for outdoors, showers and kitchens.
- Apply a bead of caulking on top of the original caulking and run it all the way across the backsplash. Don’t worry about being consistent, you’ll be able to smooth it out later.
- Buildium tip: If the caulking will be touching a painted wall, make sure you use a brand that is paintable, because you’ll want to match the caulking color to the wall color later on. If it is, it will say so on the packaging. Meanwhile, if you are beading between countertops, you will want to use clear 100% silicone caulking.
- Take your caulking tool (your thumb works, too) and run it across the bead. This is where you need to be consistent. No pausing.
- Peal away the painters tape and let the caulking dry. You are now ready for paint!
- Buildium tip: Some caulking tubes do not come with a cap. In order to ensure that you can use the tube again in the future, stick a nail in the hole so it won’t dry shut.
After sealing up the cracks, take a look around for any other areas that might need some attention. A great way to test if it’s time to seal up a crack is to try to run a credit card through the area where two surfaces meet. If it’s too easy, it’s time to get the caulking out.
Want more tips like these?
Download our FREE DIY Maintenance for Property Managers guide for a compilation of easy fixes accompanied by Buildium tips and step-by-step photo instructions.
Read more on Maintenance