
It’s always a good idea to change the door locks when there’s tenant turnover; you never know who has misplaced or made copies of keys during the previous tenancy. Locksmiths can be costly, but there’s no reason you can’t do this yourself.
You’ll Need:
If your door is not pre-cut:
- Door lock installation kit
- Door hole drill bit
- Power drill
- Sander
- plus…
If your door is pre-cut:
- Door knob and deadbolt set
- Phillips head screw driver
Work Time: 30 minutes
Total Time: 30 minutes
If you have a precut door, skip to part B
A. If you do not have a precut door, start here:
- A door lock installation kit will allow you to have two different backsets (the distance from the door knob hole to the edge of the door). On older doors, door knob holes are set farther away (about 2 ¾”). Whereas modern door knob holes are set at 2 ⅜”.
- Use the door installation kit and a pen to mark the hole on the door.
- Attach the door hole drill bit to your power drill and carefully drill a hole for the deadbolt and the door knob.
- Use a sander to smooth out the newly formed circles.
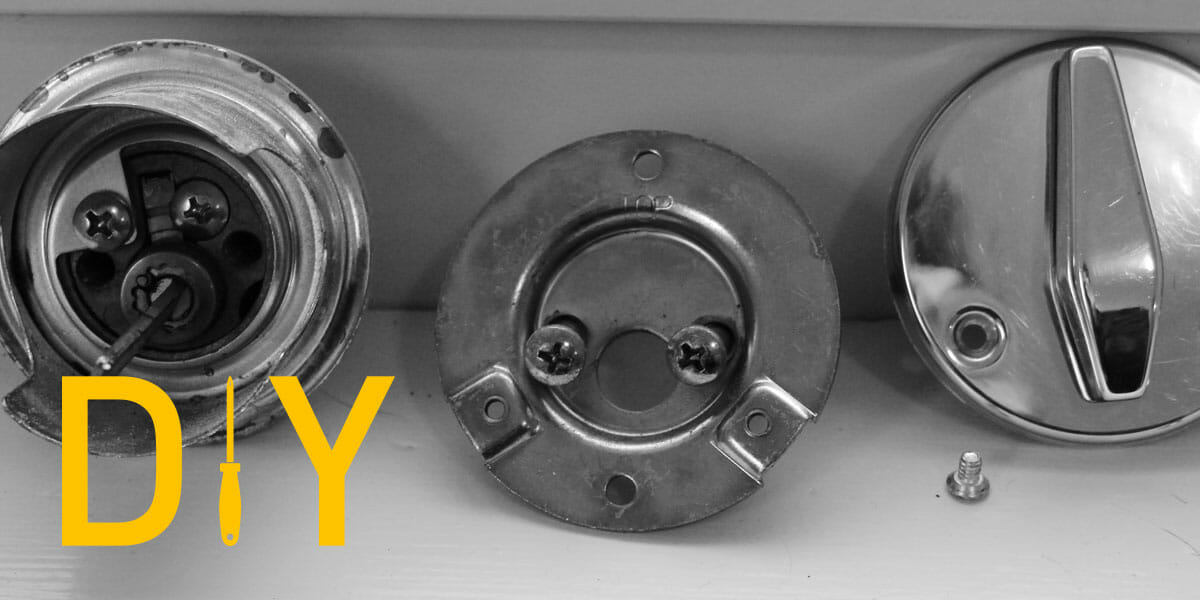
B. Install the deadbolt
- Insert the deadbolt piece into the vertical rectangle on the side of the door board. The latch should appear in the middle of the hole. Use your Phillips head screwdriver to drive the screws into the side of the door board. Do not screw them in all the way. You’ll want some wiggle room during the rest of the installment.
- Take the keyhole piece that faces the outside and make sure its pin cylinder goes through the middle of the latch.
- Buildium tip: Now’s a good time to check that the keyhole is the right side up before you continue any further!
- Flip to the side of the door that’s facing the inside and attach the steel mounting plate with the two mounting bolts. Screw the bolts tight.
- Use the miniature thumbturn mounting screws to attach the thumbturn plate to the steel mounting plate.
- Ensure that the lock works.
- Tighten the loose bolts that are holding the deadbolt into the side of the door.
C. Install the door knob.
- Insert the deadlatch into the vertical rectangle on the side of the door board. Use a Phillips head screwdriver to drive the screws into the side of the board but do not completely tighten.
- Place the keyhole piece that faces the outside over the circular hole. The spindle of that piece should fit nicely into one of the two chambers in the latch. The two chambers are there to ensure it works on both 2 3/8″ and 2 ¾” backsets.
- Buildium tip: make sure the keyhole is the right side up!
- Install the interior trim door handle.
- Tighten the bolts.
- Test the lock with the key.
- Tighten the loose bolts that are holding in the dead-latch.
Want more tips like these?
Download our FREE DIY Maintenance for Property Managers guide for a compilation of easy fixes accompanied by Buildium tips and step-by-step photo instructions.
Read more on Maintenance